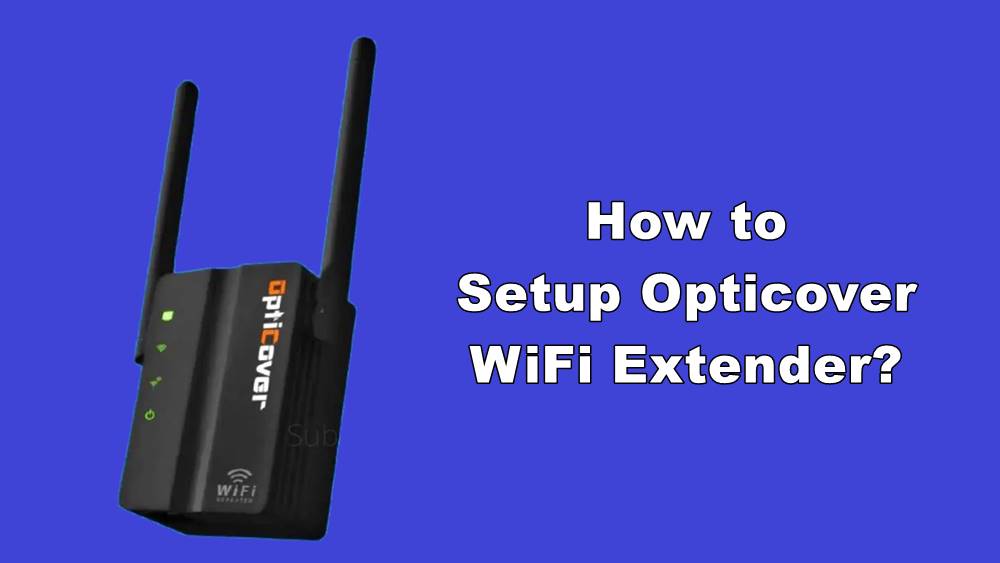
There is no doubt that Opticover makes one of the best wifi extenders. They are known for offering true wireless performance. But there are lots of users who don’t really know how to setup Opticover wifi extender.
And if you are stuck with the same, then I am here to help you out. In this article, I will be sharing a step by step guide and walk you through all the steps that you have to follow to configure and setup Opticover wifi extender.
So here we go.

How to Setup Opticover WiFi Extender?
There are two ways to setup an Opticover wifi extender. The first option requires your router to have a WPS button, and the second method works if your router doesn’t have a WPS button.
However, let me just go ahead and mention both of the methods one by one:
Method 1: Setup Opticover wifi Extender Using The WPS Button
Step 1: At first, plug the extender into an electric socket next to your router and wait for the extender’s wireless LED to turn on.
Step 2: Then, press the WPS button on your router.
Step 3: Also, press the WPS button on your wifi extender within two minutes, and it will establish a connection.
Step 4: Then plug in the extender about halfway between your router and wifi dead zone. Also, do ensure that the location you are choosing is within the range of the host network. Also, make sure that all the LEDs are lit on your extender. If not, then relocate the extender next to your router.
So that was all the steps that you have to follow to set up opticover wifi extender using the WPS button. However, in certain cases, the WPS button might not work for you. As some ISP gateways disable the WPS function as default.
So if the WPS method fails, then use the second option to configure your opticover wifi extender.
Method 2: Setup Opticover wifi Extender Using Web Browser
Step 1: At first, plug the extender into an electric socket next to your router.
Step 2 (for Windows Users): If you are using Windows, then unplug the Ethernet cable from your computer, if not using a computer, skip this step.
Step 3 (for Windows Users): After that, click on the wifi icon on the taskbar and connect to the extender’s network.
Step 4 (For Mac Users): Unplug the Ethernet cable from your Mac.
Step 5(For Mac Users): Then click on the wifi icon from the top right corner of the screen and connect to the extender’s network.
Step 6: Next, launch a web browser and go to the opticover wifi extender’s configure page. The IP address of the extender should be located at the back panel of your extender.
Step 7: After that, login to your extender using its default login credentials.
Step 8: Next, keep the default SSID, or you can customize it and click on Next.
Step 9: After that, select your router’s 2.4GHz network and enter its wireless password and click on next.
Step 10: Finally, you will need to verify your wireless settings and click on save.
Once configured, the LEDs on your router should stop blinking and stay solid. If you see this, then simply relocate your wifi extender to a wifi dead zone area and see if it’s working or not. If not, then try relocating the extender location where it can catch wifi signals from your router. Also, check out How to Fix Asus Router Login Not Working Error?
How to reset Opticover Wifi Extender?
You may also feel a need to reset your opticover wifi extender if you make any wrong configuration. Or your extender doesn’t work. And resetting the extender is extremely easy.
All you have to do is use a pin to press and hold the reset button for a while until the LEDs go off. Then release the WPS button, and it will reset the extender. After that, you can re-configure the extender. Also, check out How to Fix Frontier Internet Keeps Disconnecting?
Final Words:
So that was a quick answer to your how to setup Opticover wifi extender question. Now go ahead and try following the above methods and configure your extender and see if it is working for you. Also, if you have any other questions to ask, then do feel free to comment below.
![Fix [pii_email_92cb35c247cbd9428857] Microsoft Outlook Error Fix [pii_email_92cb35c247cbd9428857] Microsoft Outlook Error](https://techiewhizz.com/wp-content/uploads/2021/10/fix-pii_email_92cb35c247cbd9428857-error.jpg)


